TITAN
Hello! This is my CPU. It is a working 8 bit CPU made from 74LS series Low Power Schottky Transistor Transistor Logic ICs.
I have always been interested in computers/electronics and always want to know more. So one day I made a start, I looked around and I learnt more each day. Then I looked further and I knew that I wanted to build a processor. I started looking at the old computers that filled rooms etc and I wanted one. I knew I couldnt have one but I could build something like it. Awesome I thought, I started looking more and more into it and came up with a few basic ideas, they were crude but they would of worked, consuming lots of components and would have been very slow. But finaly after many revisions I have come to a design I am happy with.
Titan is a rather small processor in terms of power. It's capable of 8 bit arithmetic operations and it consumes around one hundred ICs (Intergrated Circuits). I have decided to use wire wrap because of the large numbers of ICs. Breadboards would have been to expensive and making PCBs (Printed Circuit Boards) isnt in my budget. Each part of the CPU is on cards, registers on one, ALU on another, etc.
The 8 bit processor can add, subtract, increment, decrement and perform logic functions (AND OR NOT XOR) of 8 bit values, it has 16 programmer acsessable registers and a 16 bit address bus allowing for 64kb of memory (65,536 words, 8 bit word width, 8 bits in a byte). It's wayyyy more than I will ever need! It has various addressing modes Immediate, Indirect, Index, Register... Here is a planned planned memory map:
0000-9EFF - Fixed SRAM(40K)
9F00-DFFF - Switchable 16k banked SRAM
E000-FEFF - 8k EEPROM
FF00-FFFF - 256 I/O ports
Titan has variable length instructions. All memory operations used to happen on the Accumulator (R0) but due to ISA changes you can now select source and destinations for register operands! Woo! The flags in the flag regsiter are set when an arithmetic operation is conducted. Titan contains 64kb of program memory. This can be accessed by the programmer using the Load and Store instructions, this is because Titan uses Mapped Memory I/O
Although very basic ones, Titan does have a basic interrupt system! There are eight hardware interrupts which can also be called from the 256 software interrupts. The interrupt handler lets the CPU finish the current instruction execution, then takes control, halts the CPU, writes the interrupt address to the program counter and hands back control to the CPU. Interrups are always running unless a switch on the front panel is set to OFF to switch interrupts off. The interrupt address for each I/O device is set in some DIL switches on the I/O card. Interrupt routines are stored in the EEPROM that is mapped to memory. When I started I took into account what instructions I would have. I have gone through many, many versions and ended up designing control logic circuits for most of the revisions. It isnt the greatest thing in the world so I decided to have a small (RISC) instruction set.
When designing this CPU I used many pages of paper. I used old a few pages from empty books taken from school, scrap paper found around the house and sometimes half torn pages! So when trying to finalise all the circuit diagrams needed it became quite complicated. I will publish the schematics when I find them.
Specifications
Most of the important information about Titan and the specifications can be found hereInstruction Set Architecture
You can view the obsolete ISA here
The NEW and IMPROVED ISA can be viewed here. Its a bit long but it goes into better detail than the old ISA.
Registers
HEX  BIN     ASM
0    0000    R0
1    0001    R1
2    0010    R2
3    0011    R3
4    0100    R4
5    0101    R5
6    0110    R6
7    0111    R7
8    1000    R8
9    1001    R9
A    1010    RA
B    1011    RB
C    1100    RC - Stack pointer high byte
D    1101    RD - Stack pointer low byte
E    1110    RE - Program counter high byte
F    1111    RF - Program counter low byte
Microcode:
Change of plan, Titan doesnt use combinational logic to decode and execute instructions. Ive changed this to speed up Titan and simplify the design. Currently going through my plans, spread across several A4 Pages. You can view the 'microcode assembly' hereAssembler:
I once developed an extreemly crude assembler. The assembler was written in C and didn't work very well. Some people have made assemblers that are AWESOME! You can see my latest version in scheme here.Boards:
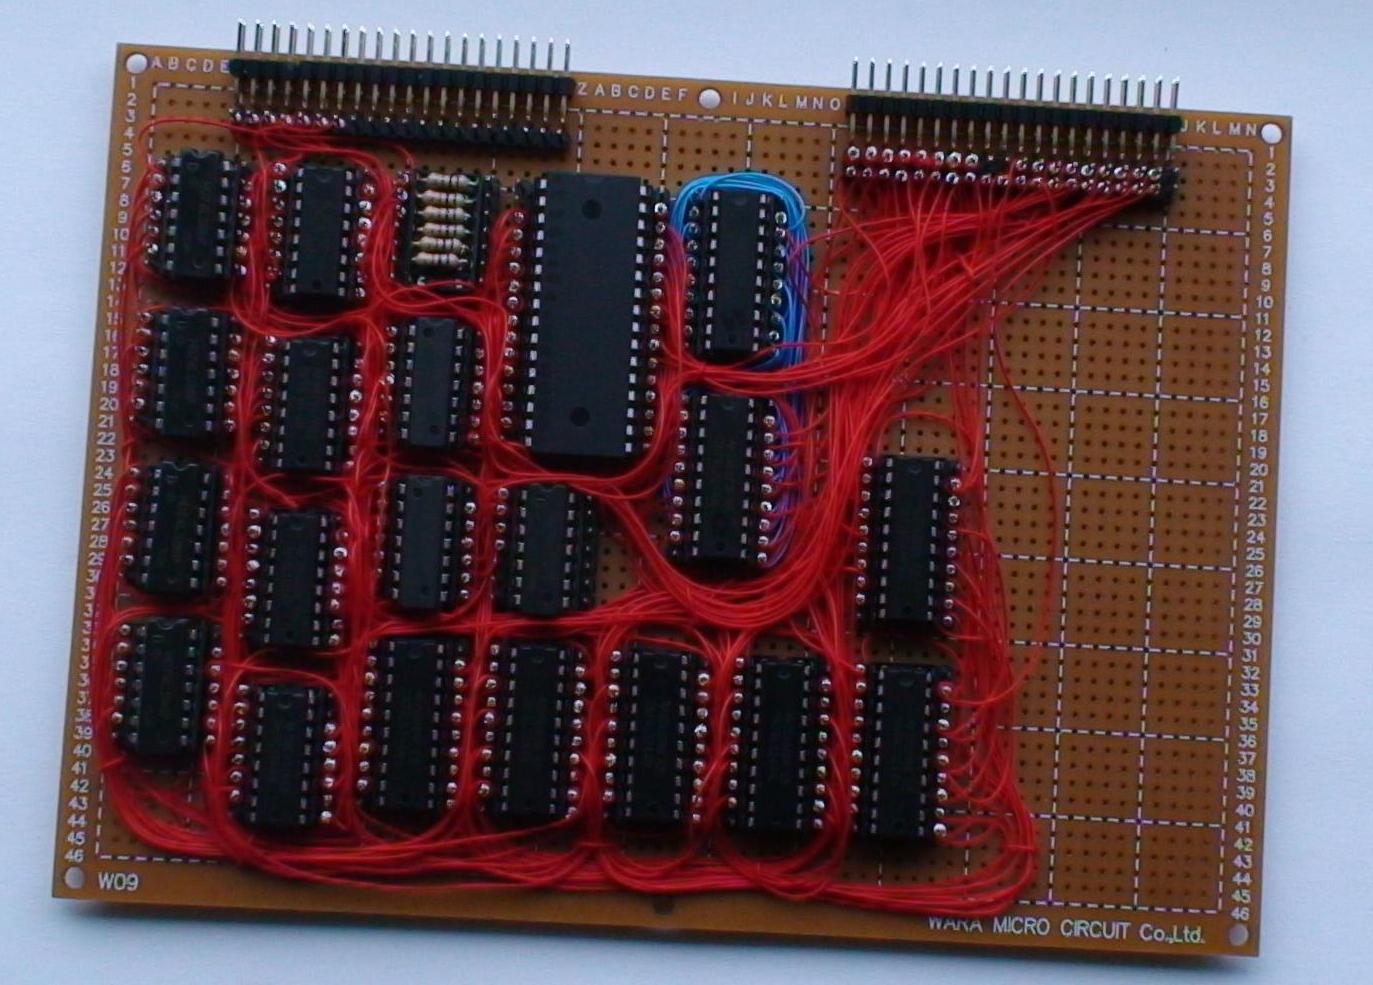
Titan is made up of different cards. Each section of the processor is on its own card(s). Below shows a picture of the board, a schematic and describes the function.ALU: - This is where all the arithmetic functions are executed
ALU top side
ALU bottom side
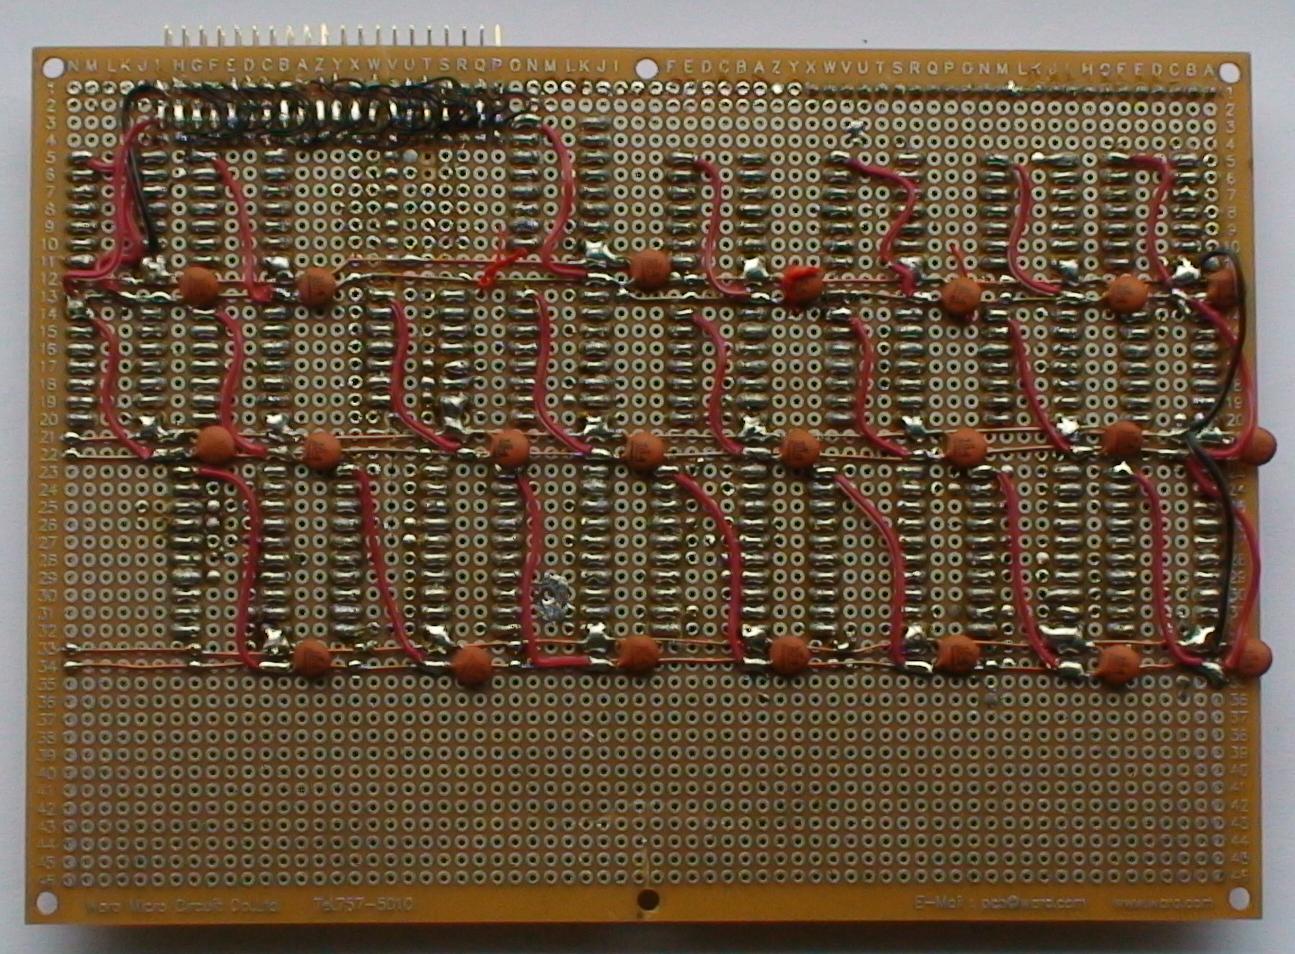
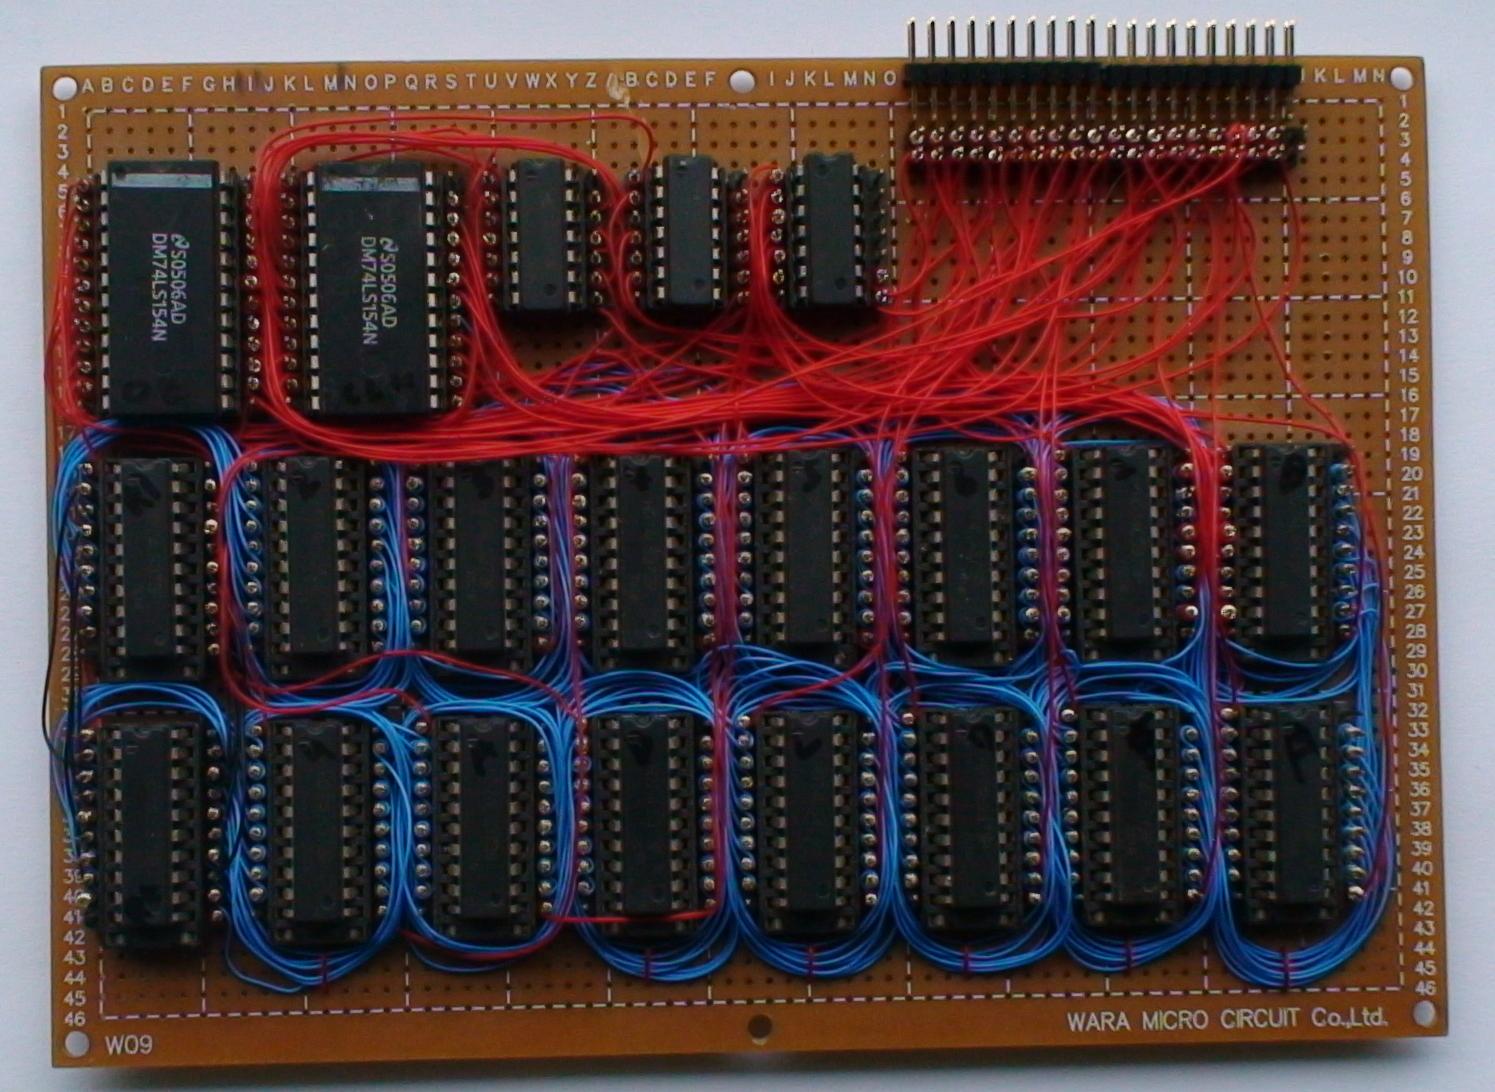
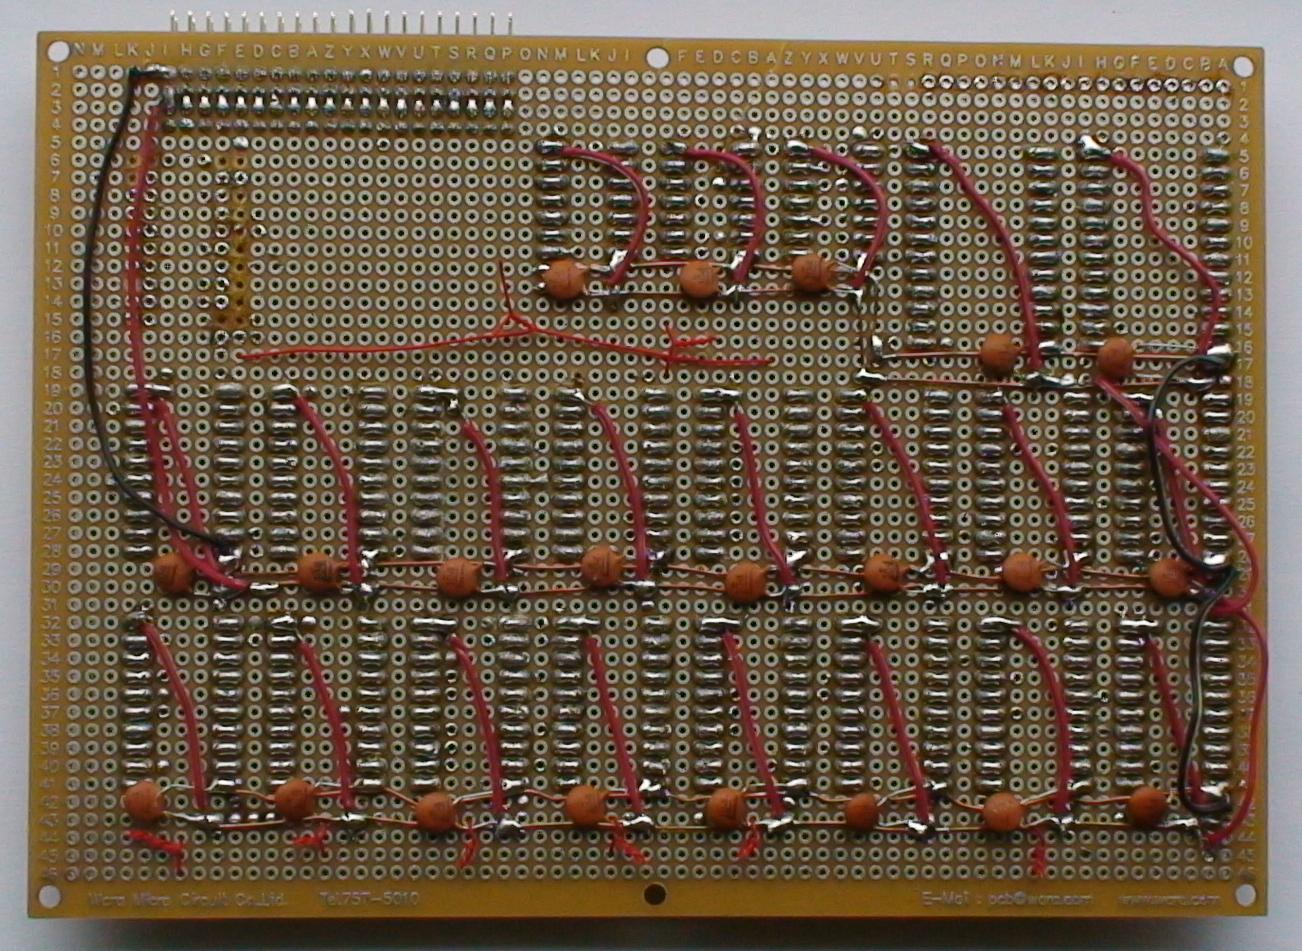
Stack: - The stack is a large data structure, items can be pushed on and popped off in/out of registers
Stack top side
Stack bottom side
Register: - This card contains all the essential registers, general purpose, alu inputs etc
Register top side
Register bottom side
Memory: - A whopping great 64KB of memory on this card!
Memory top side
Memory bottom side
Control: - The beating heart and brain of of Titan is on this board
Interrupts+I/O: - Interrupts and I/O requests are taken from the extension bus into this card then distributed into the CPU
Diagnostics: - An important card to diagnose any issues or just watch the pretty lights!
Front Panel: - Takes signals from the backplane and makes pretty lights, also essential for examining/depositing in memory!
Homebuilt CPUs WebRing