September 2012
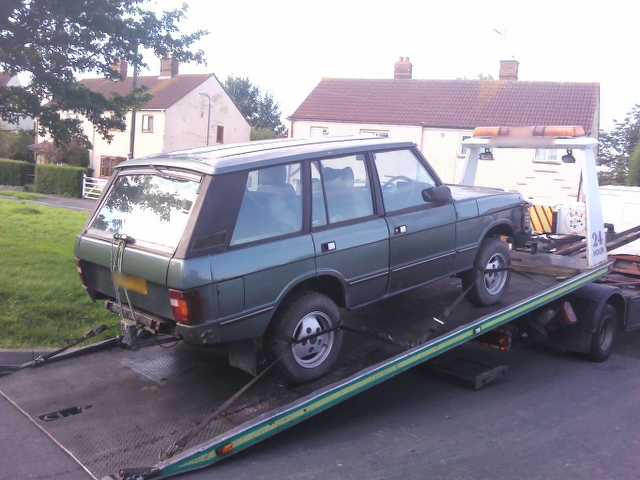
In september I bought my Range Rover, a new and exciting toy to play with!
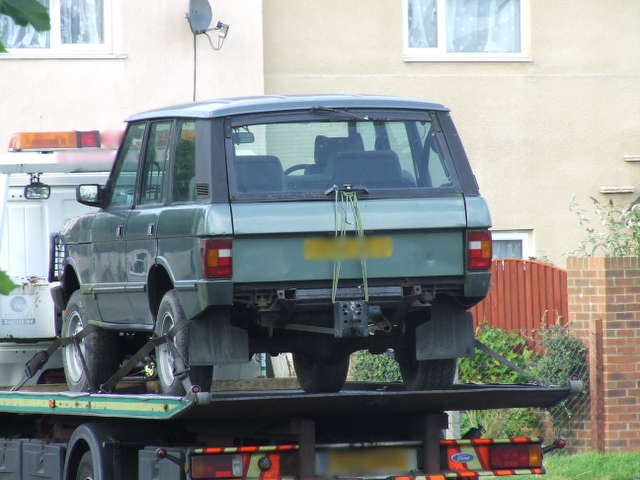
Get started straight away, at 23:30 or so, take those nasty bullbars off.

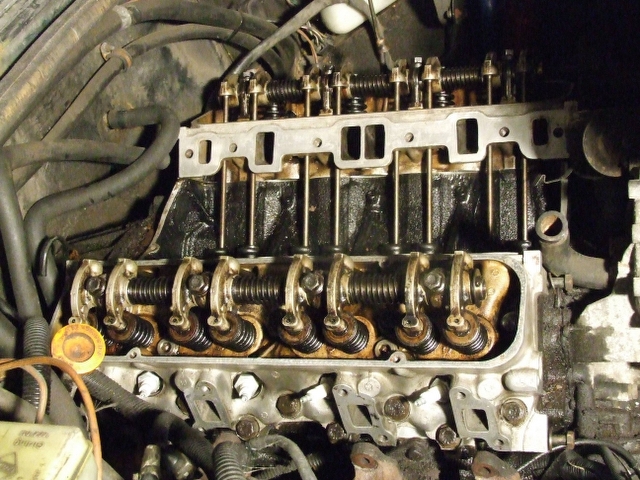
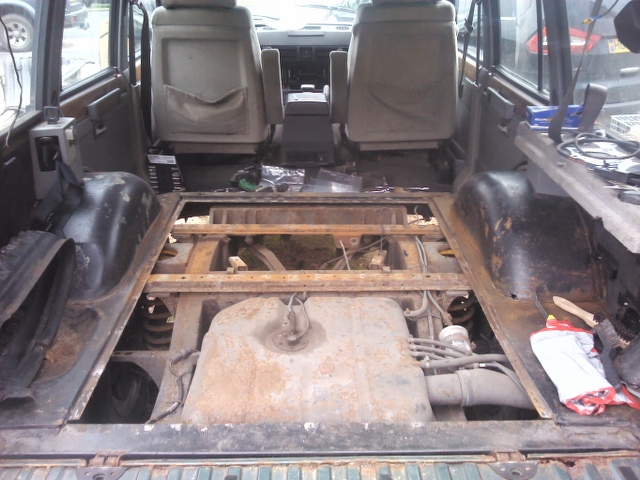
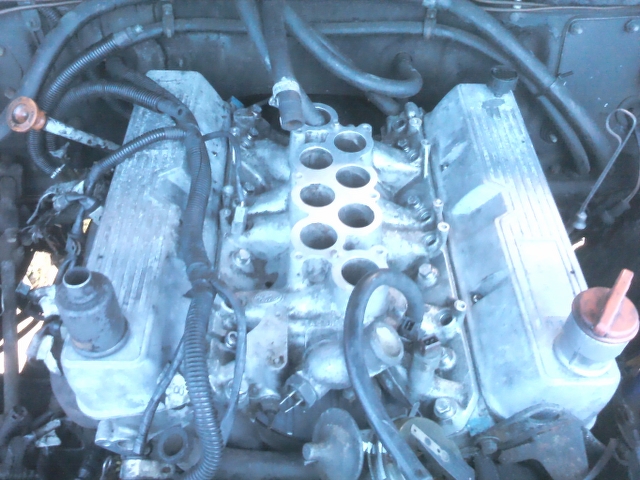
Look at that engine, 3.5L V8!
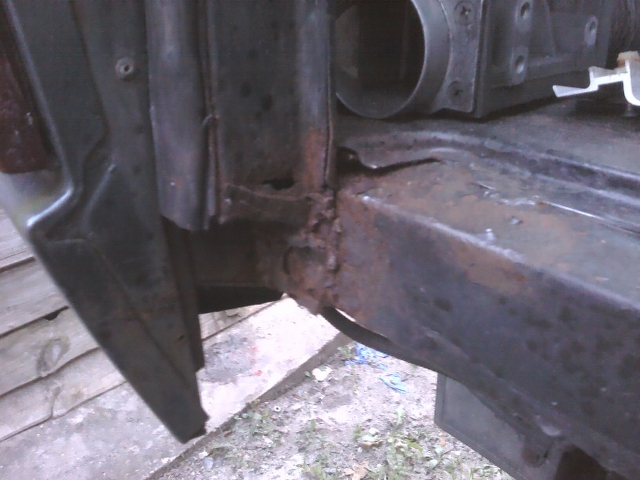
Time to inspect the rusted areas, not looking so good, but I've seen worse...
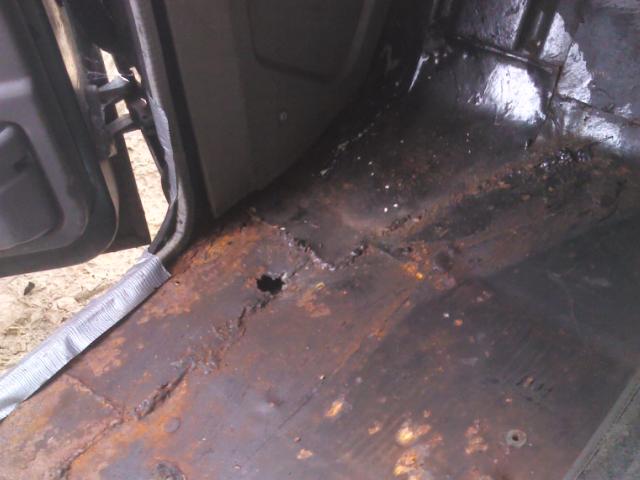
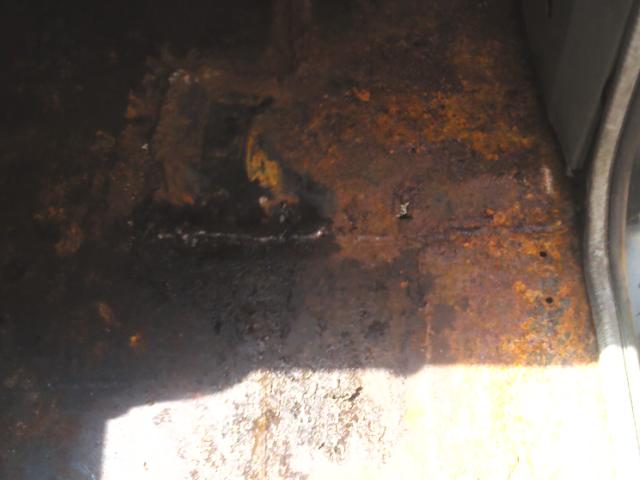
Oh dear, this needs cleaning before it goes back on!
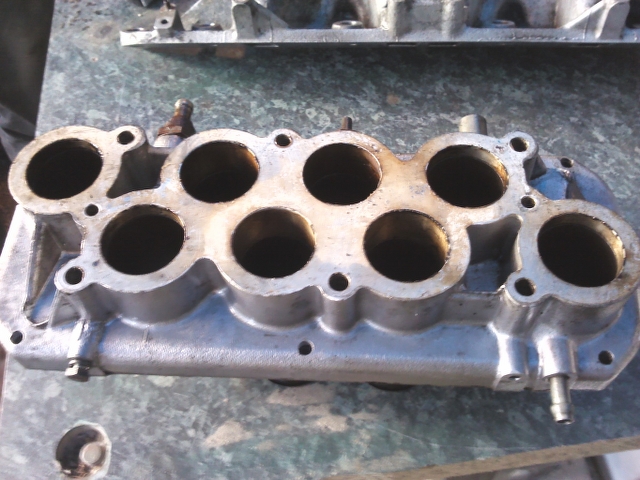
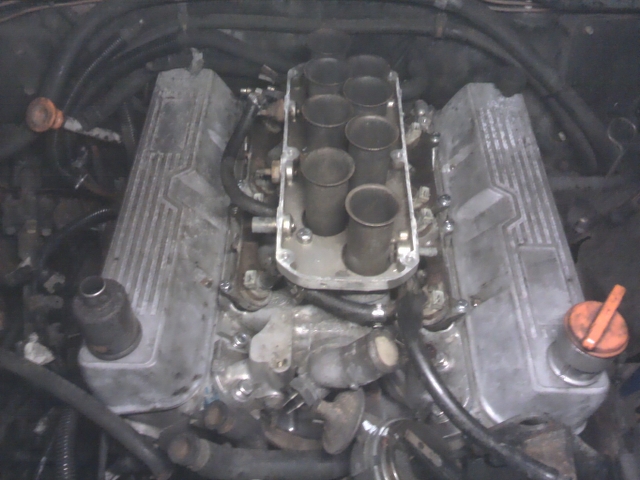
Doesn't that look much better
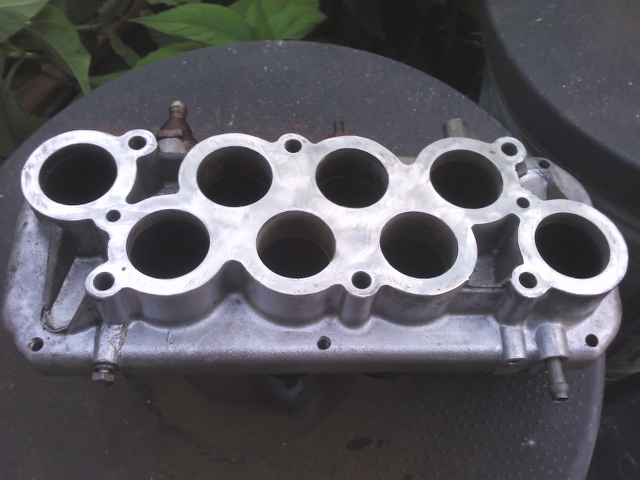
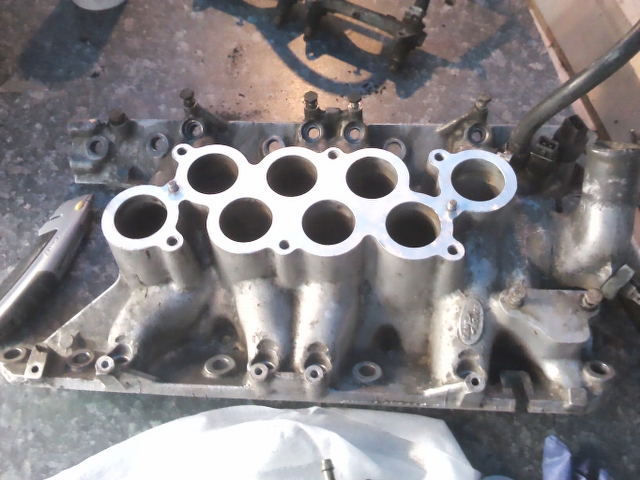
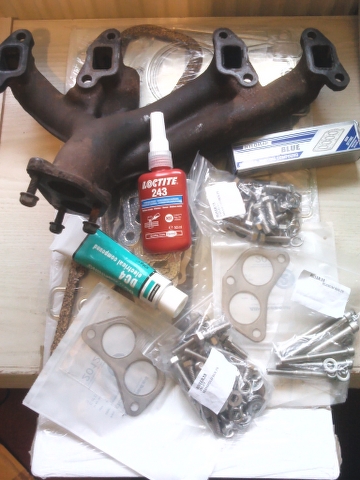
Oh and the intake manifold surfaces as well...
Return to top
October 2012
Right, I've had the range rover for a month and not a lot of progress...

Organise the bolts, see what I need to order... quite a lot actually!
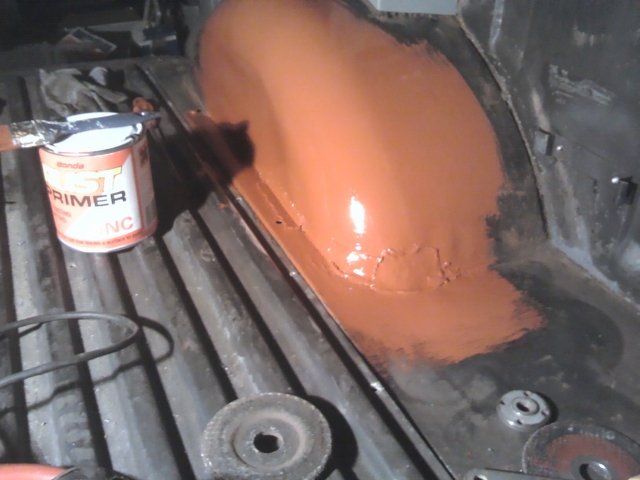
This is before the cleaning and red oxide process, its mostly surface rust!
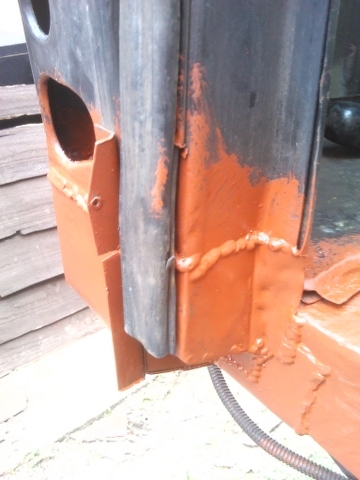
First part of welding and some red oxide primer.
Return to top
November 2012
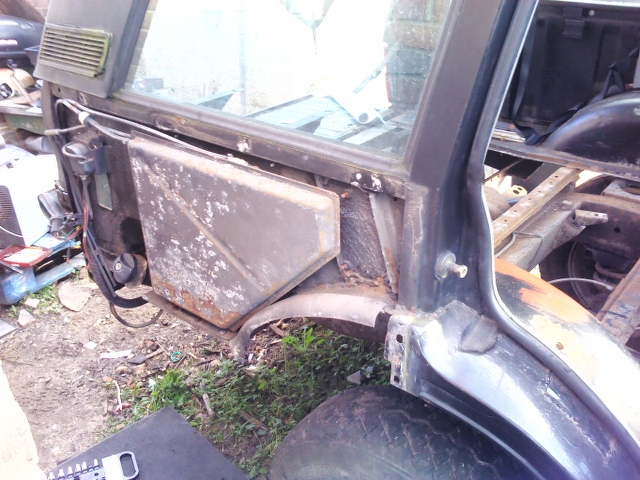
That rusty patch at top of wheel arch lets water through, probably what caused the wheel arch to rust
Slow progress, bottom of the goal posts were rotten
Comparison of the other side
Other side is now solid
Return to top
December 2012
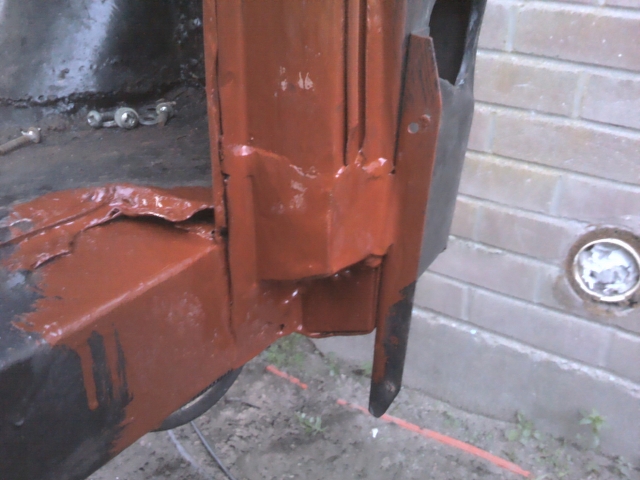
Bottom of the goal posts now sorted

Got hold of a new bumper, stripped, welded, red oxide primered and painted black!

Looks like I had better get started on that engine!
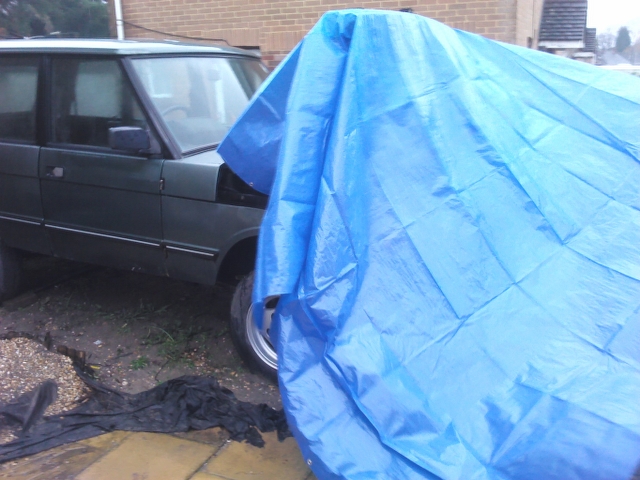
The lengths I go to, the things I do for fun, bloody rain!
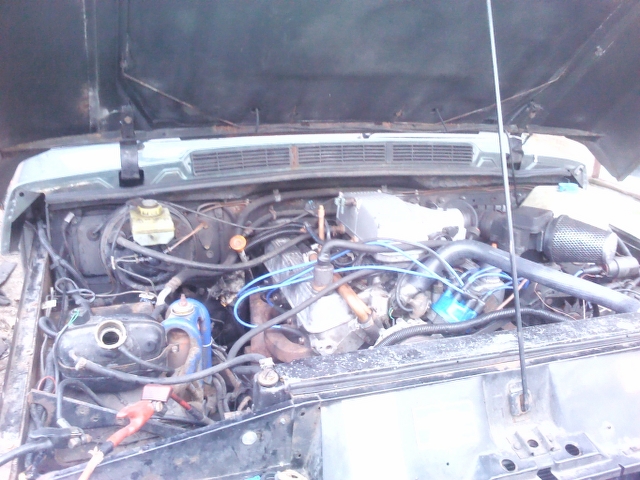
Inlet manifold and rocker covers on...
Ram housing, fuel rail, pressure regulator, over-run switch and injectors...
Return to top
January 2013
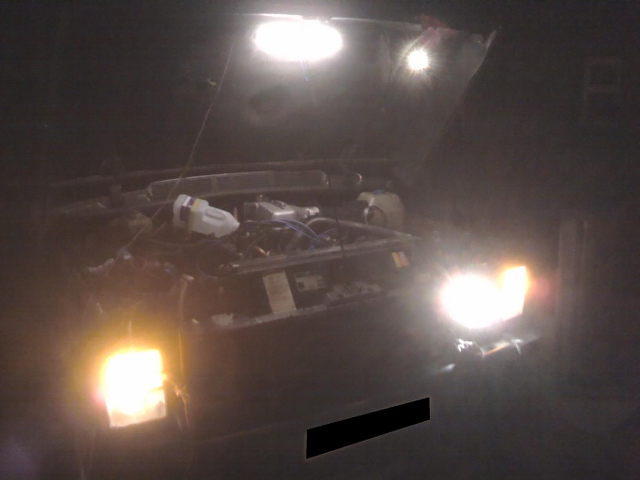
Engine finally complete, hoses in place. Won't start! Getting another ECU...
All the lights work though.
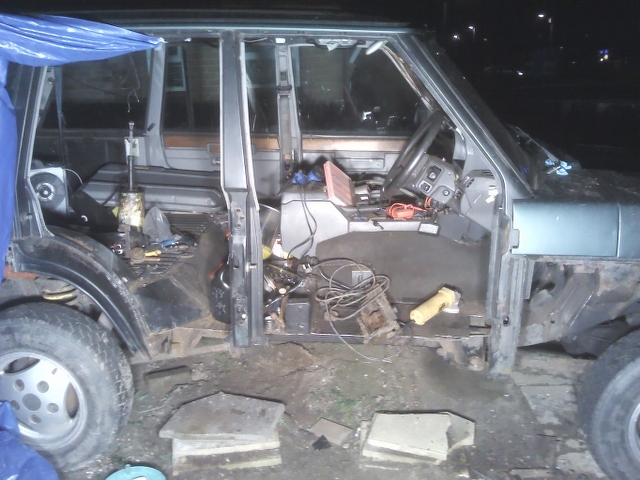
Yep, this sill definitely needs replacing!
Sill cut out and floor taken back to good metal. You can see the accelerator pedal!
Outriggers cleaned, red oxide and black chassis paint...
Welding the mounts to the new sill. 100*60*1400mm 3mm thick steel box section. SOLID!
New sill in place.
Bottom of B pillar fabricated and welded.
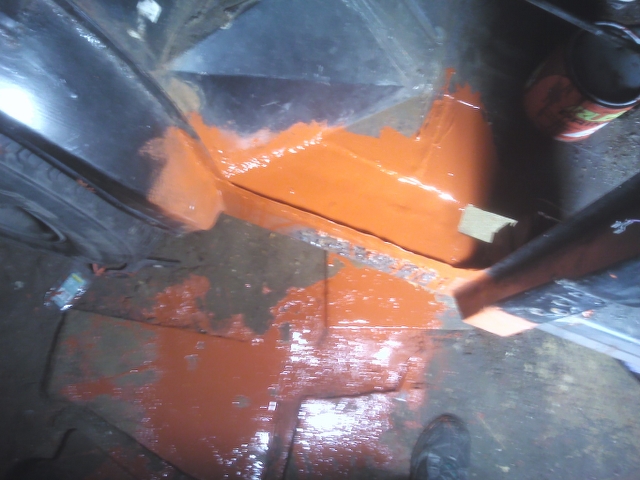
Rear wheel arch and new floor rebuilt. I spilt the primer everywhere!
Return to top
February 2013
Sill is starting to take place

A pillar rebuilt

ECU and seat mount in

All coated in red oxide


Then I painted it all black and put fitted the doors, the seals and some trim.


I'm quite pleased with the results, horrible to think what it was previously like...

Return to top
March 2013
Engine still doesn't start, compression tests did not go well. Engine out and to be rebuilt


Return to top
June 2013
What? Are you from the future?
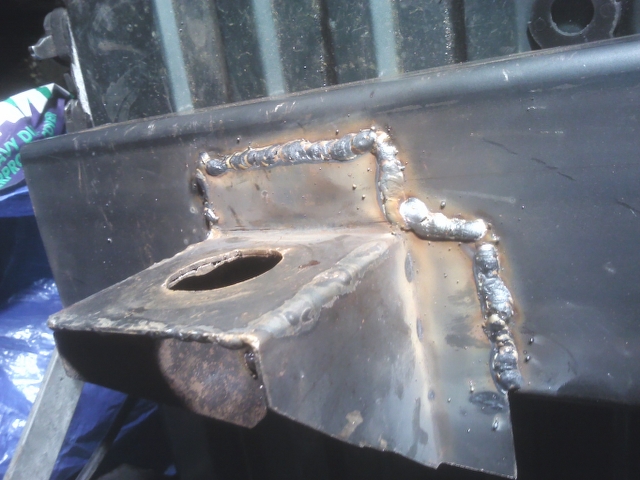
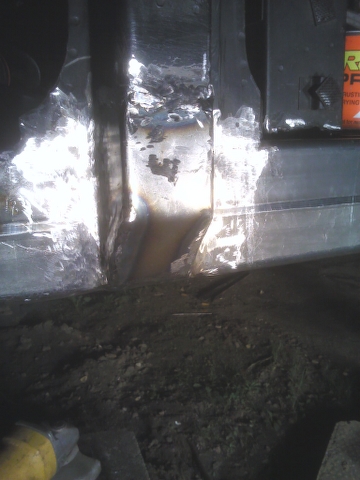
Awful patch to the horizontal box and side of bulkhead for the wing, these were held on with silicon!!

Final patch to the off side wheel arch


Bumper was interesting, had to cut out the mounts, weld in new ones and replace all of it.

It was a bit messy on the ends

Ahhhhh!

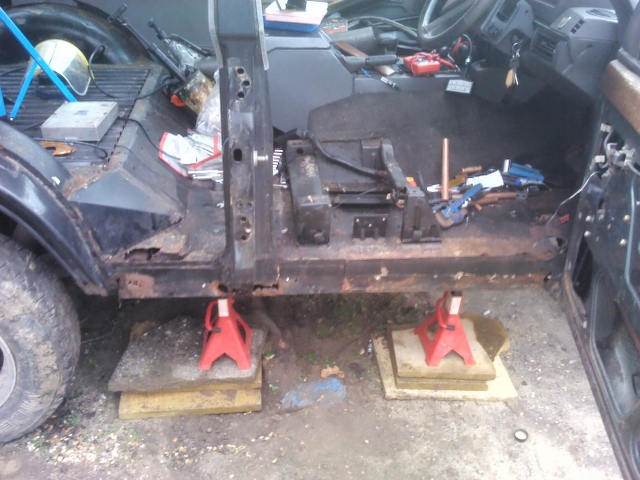
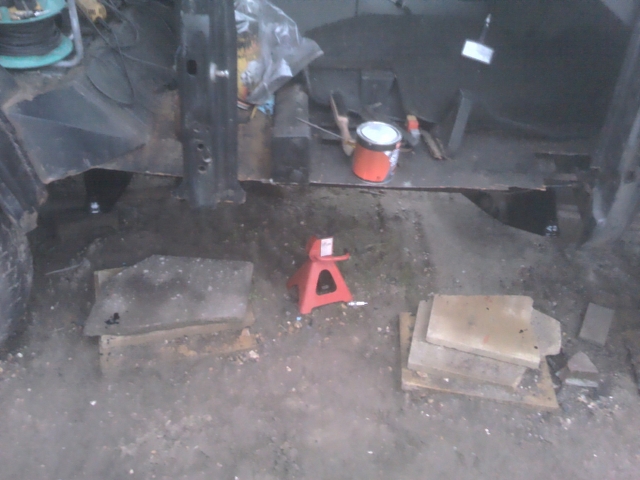
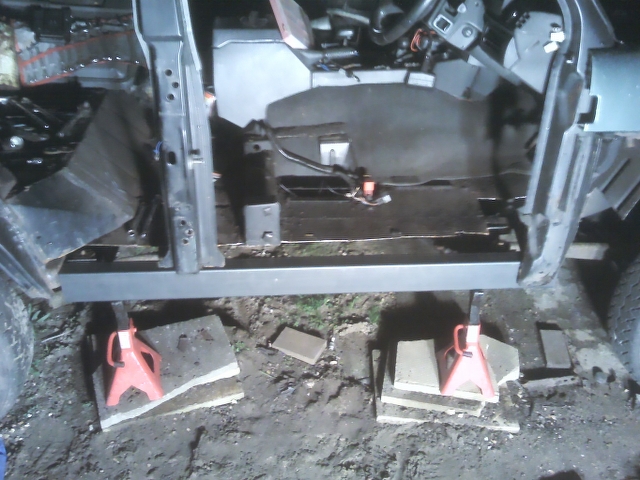
Up on stands ready for the next bits

What a nice lack of rust! I think I'll get some of that high impact stuff, stop the stone chips screwing everything up

Final bit I am REALLY pleased with, I have spent the last 10 months battling with the tailgate to try and get it open. If it actually closed then that would be great. But to get it open I would have to resort to sticking a screwdriver in the latch! Not any more!
First we have to take the old ones off

Then we try and fit new parts, and then we find that the holes for the bolts haven't been drilled properly... Oh well.

Then once the holes have been drilled out, we fit new parts! Yay!

Then the back end needs doing...


And I took the bottom discs that hold the rear springs..... and find the mounts on the axle have holes in them. I was NOT expecting this... I probably should have though. Oh well, got the welder out and repaired it.


Old parts

And all fitted


And finally, sitting on standard suspension feels good! Front end is high due to no engine...

Return to top
July 2013
What? Are you from the future?
Return to top
August 2013
What? Are you from the future?
Return to top


